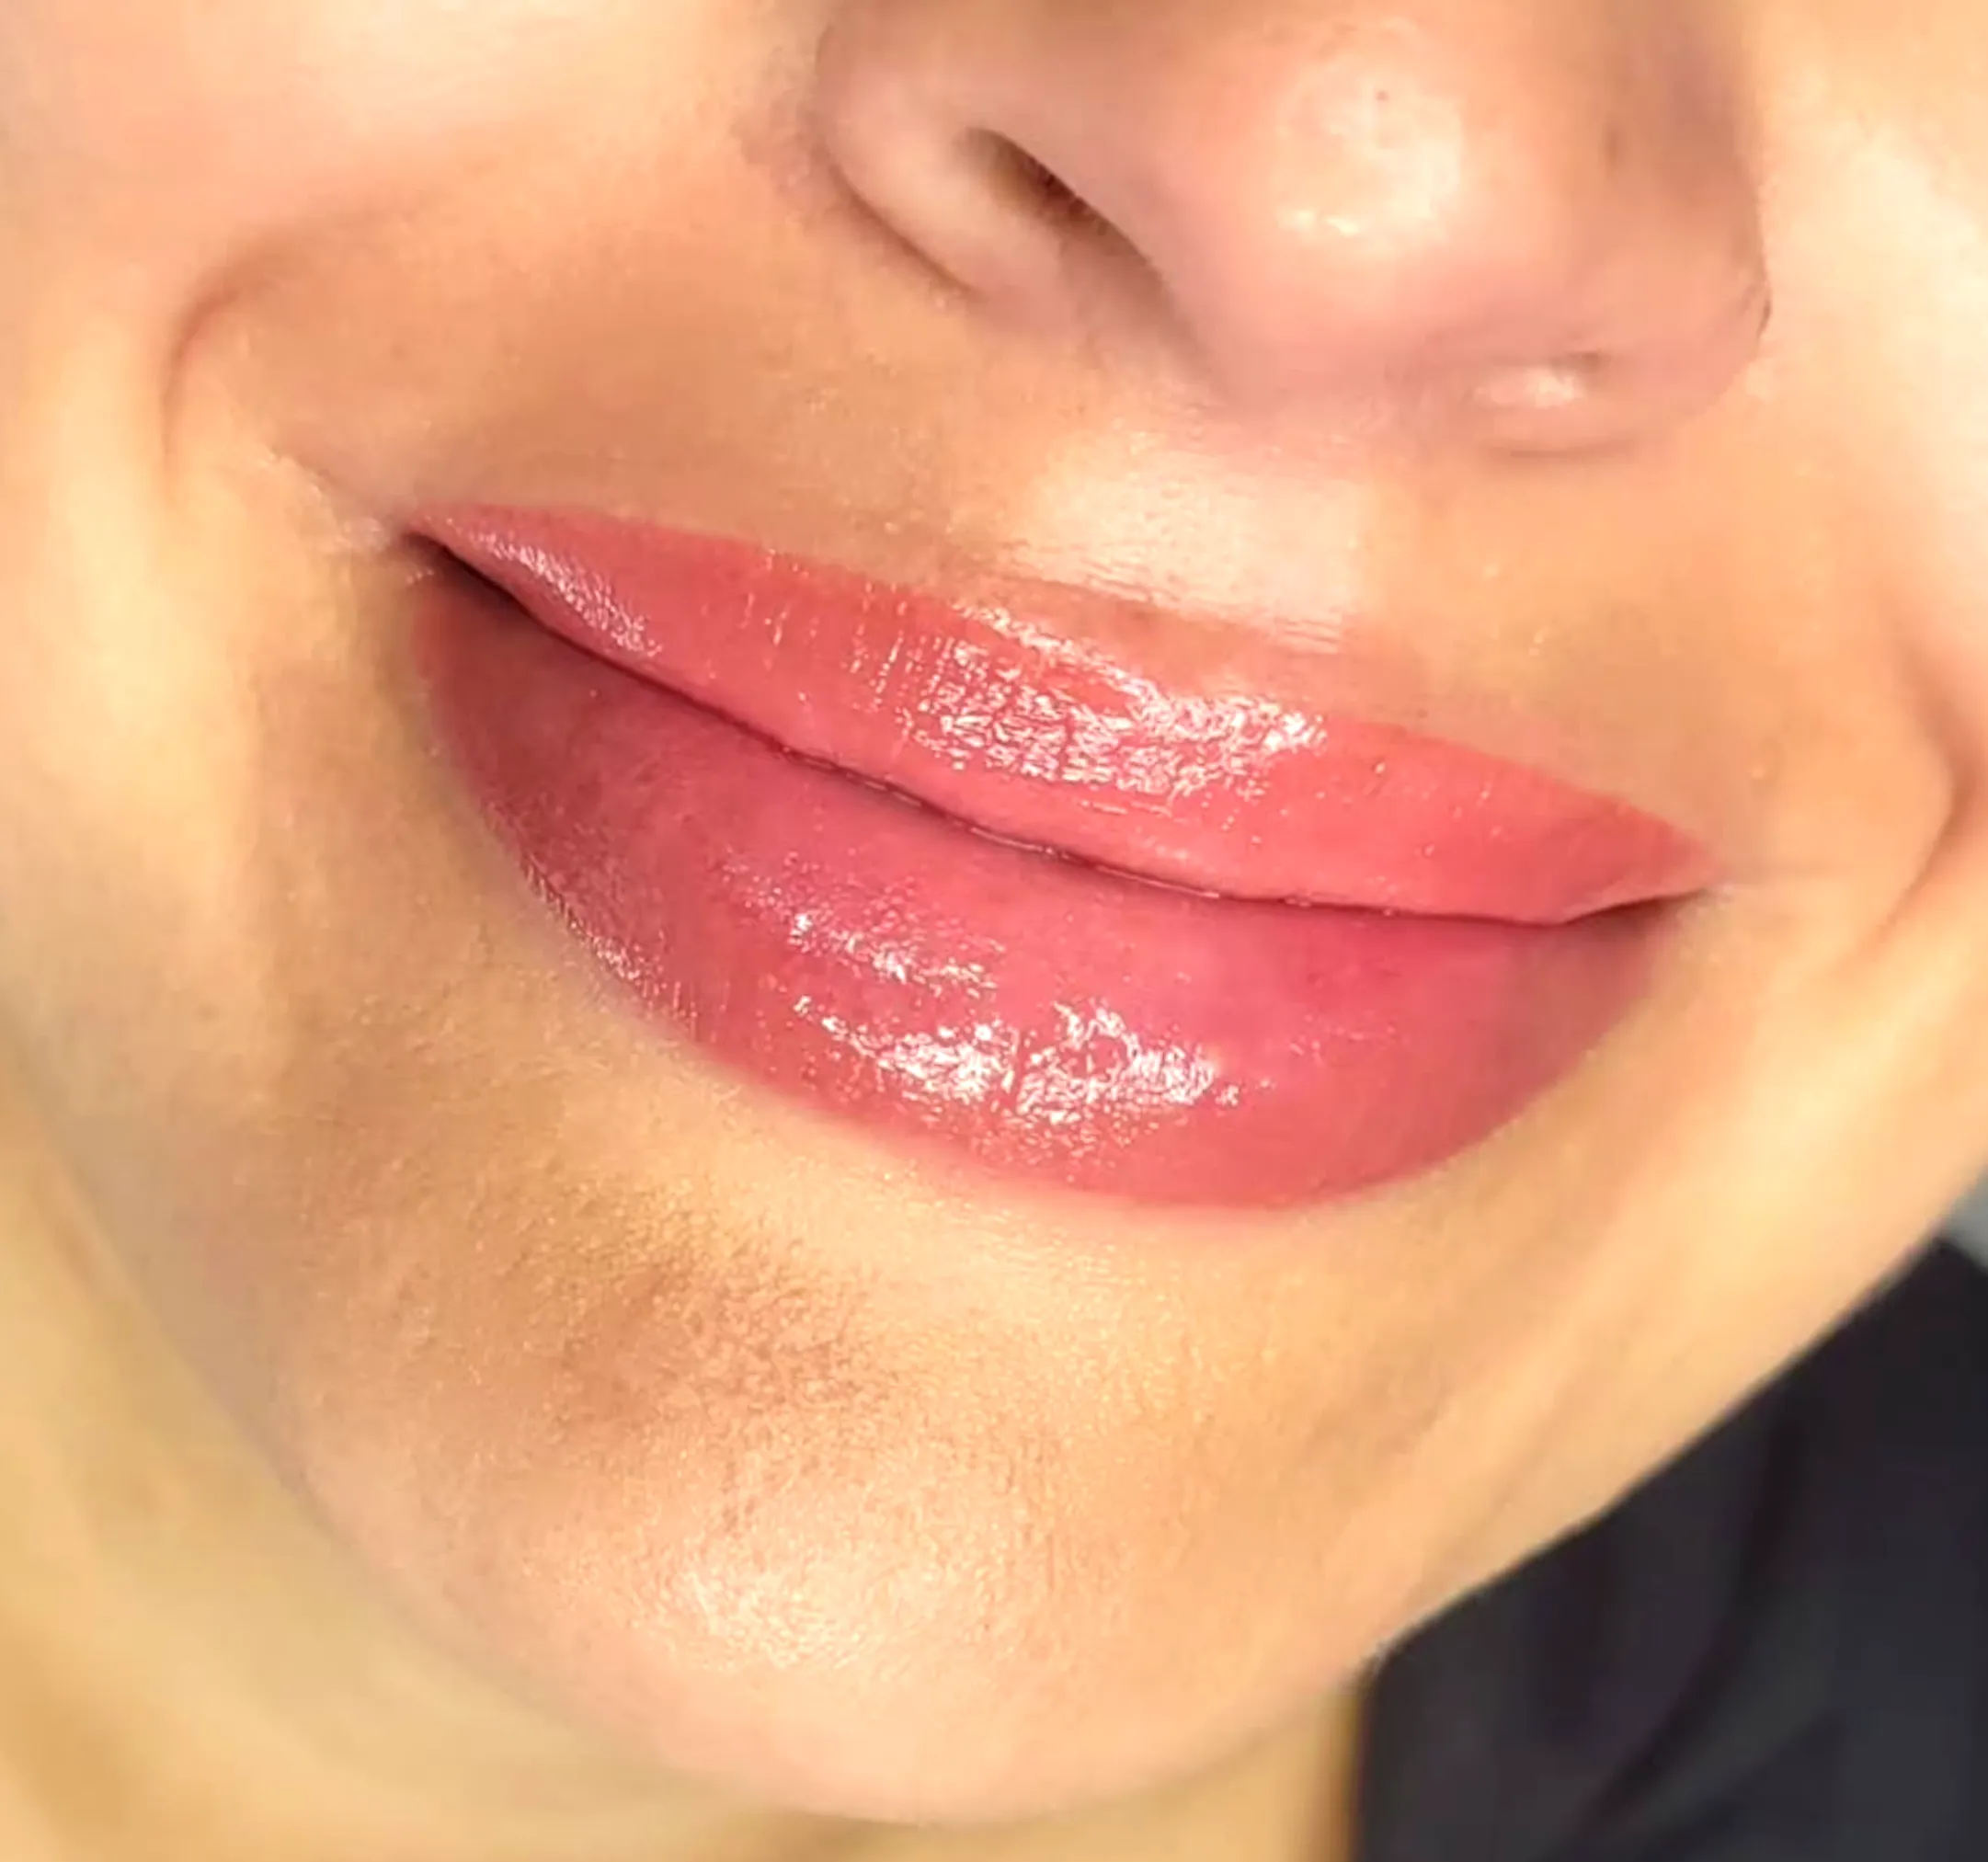
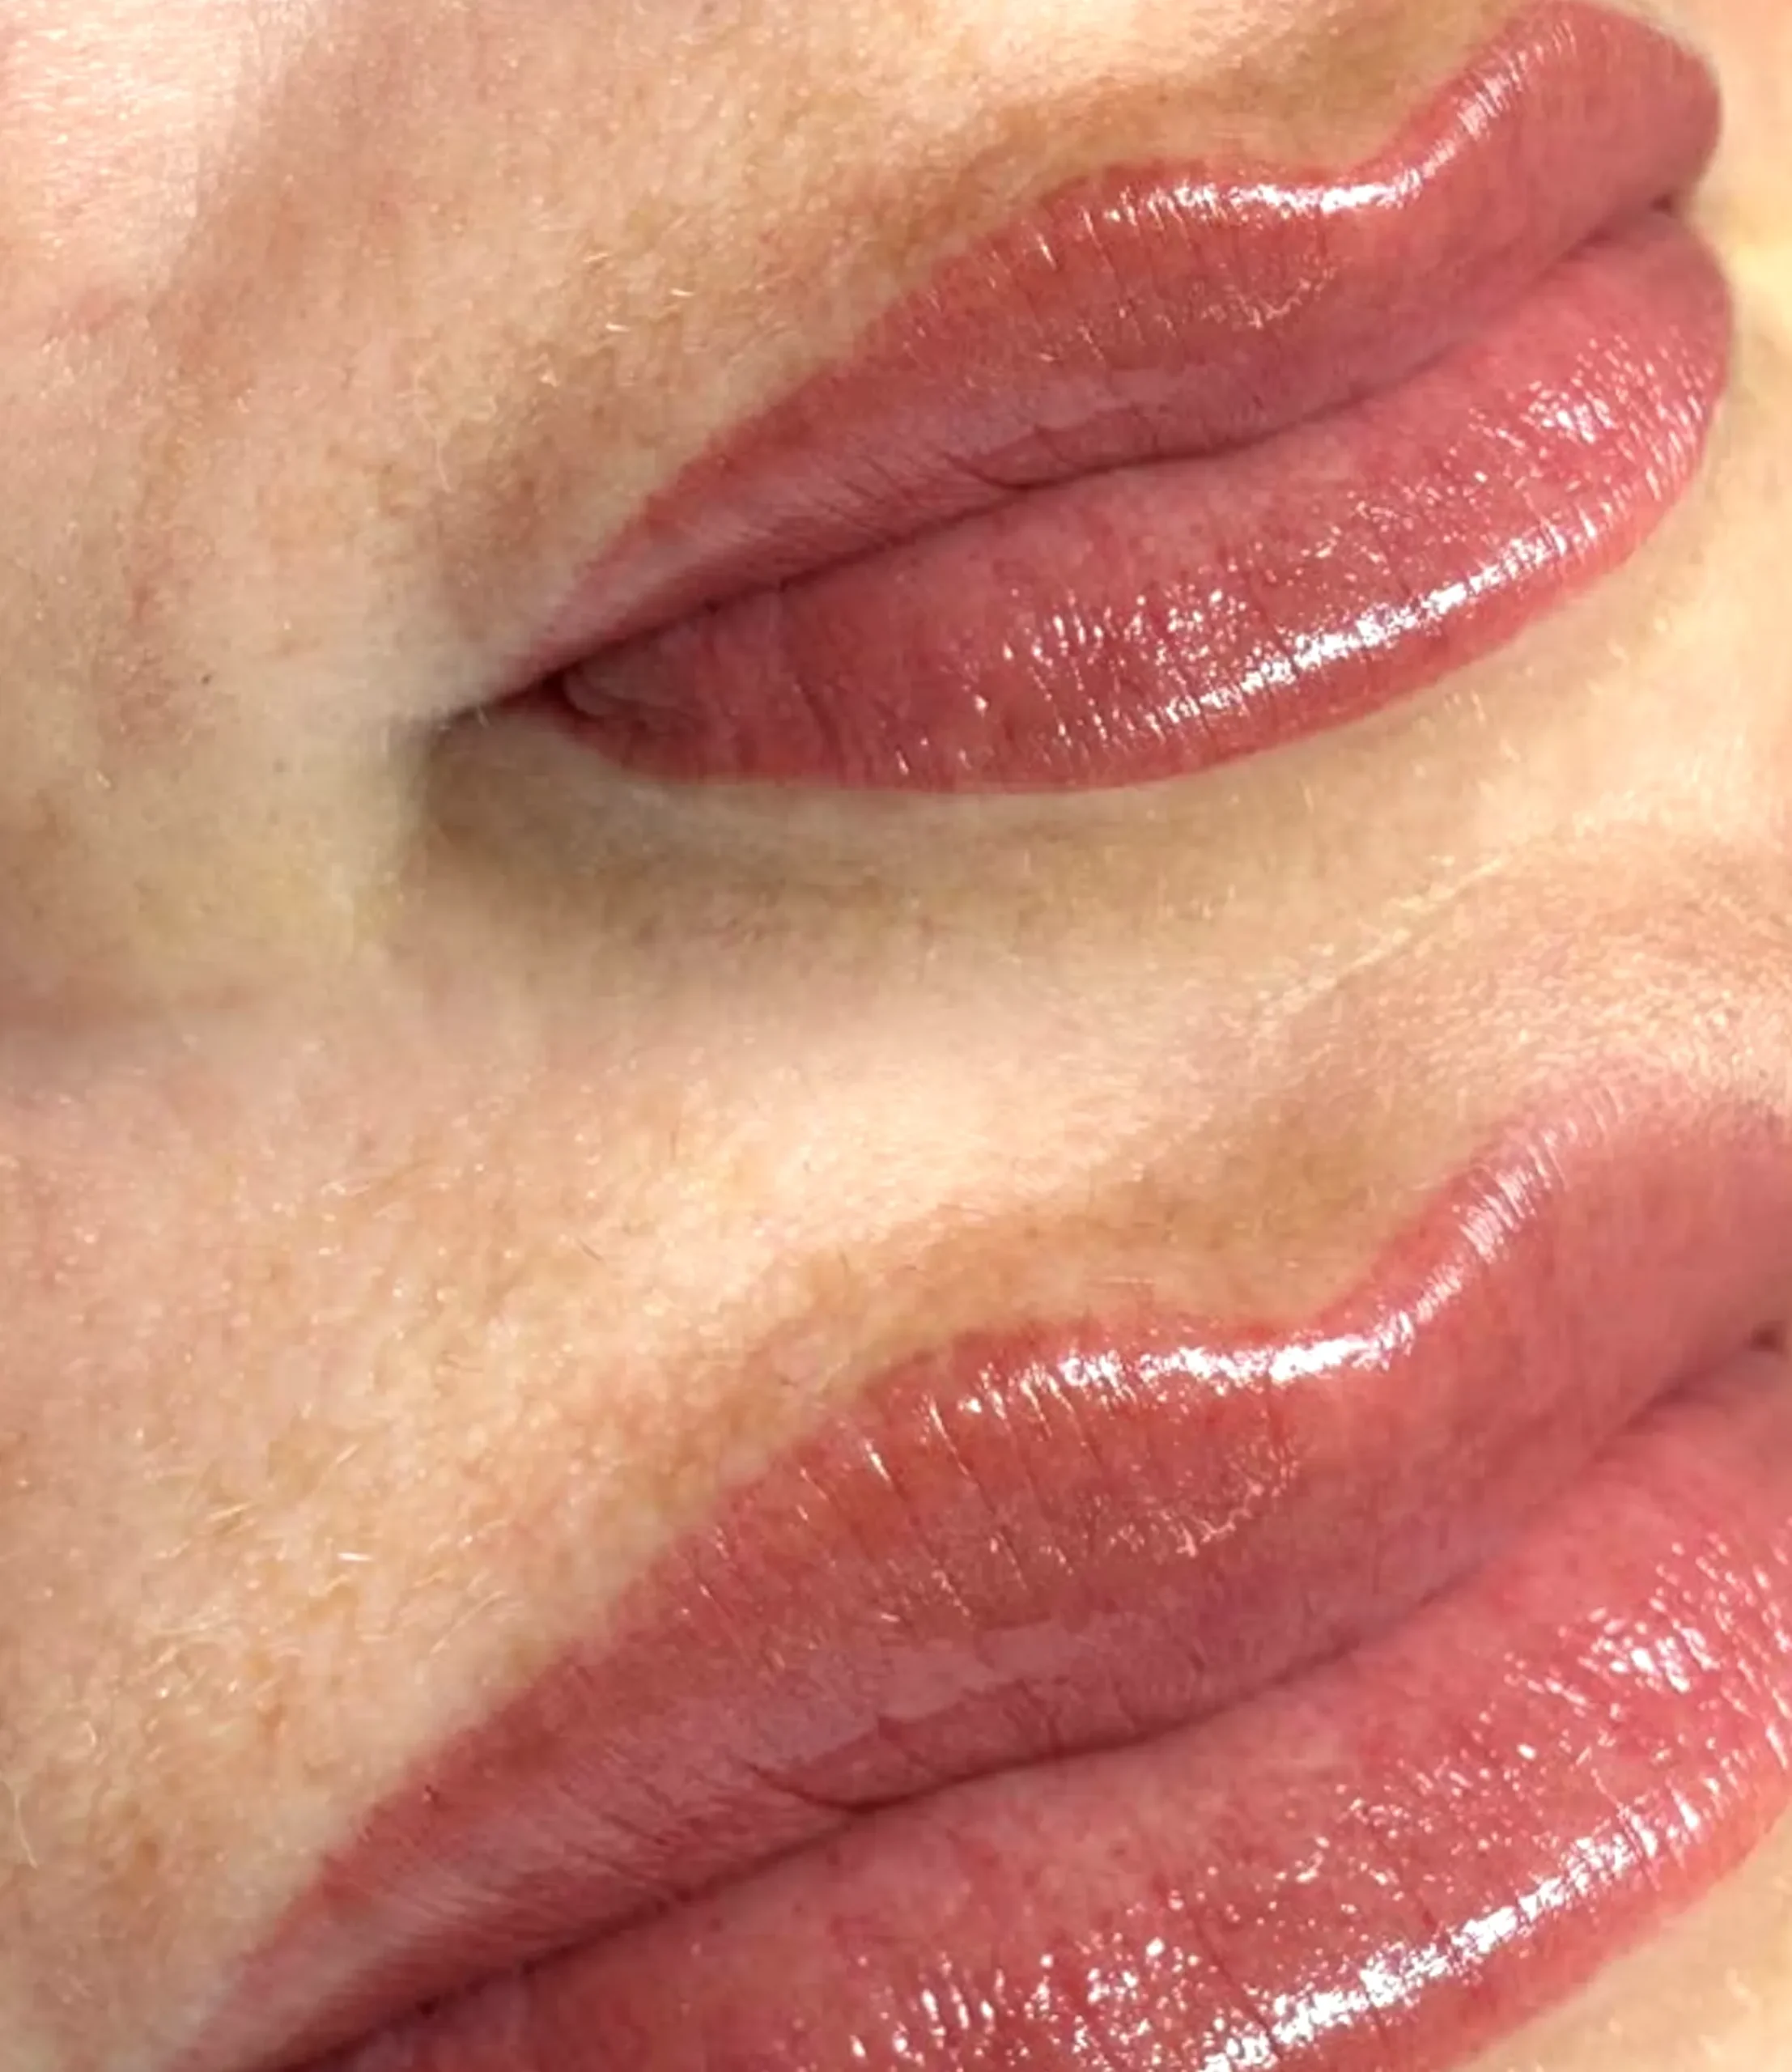
So you’re wondering how do you numb before lip blush? You’re not alone. It’s one of the most common questions clients ask in the chair — right after “Will it hurt?” and “How long does it take?” The good news? There are ways to minimise discomfort without compromising your lip shape, pigment retention or healing outcomes. Whether it’s your first lips tattoo or you’re back for a touch-up, comfort is key.
Comfort: Why Numbing Matters
No one should have to grit their teeth through a lip blush session. While pain tolerance varies, proper numbing helps ensure a smoother cosmetic procedure, better pigment results and less swelling. And let’s be honest — nobody’s trying to relive their teenage DIY piercing days.
It’s Not Just About Pain
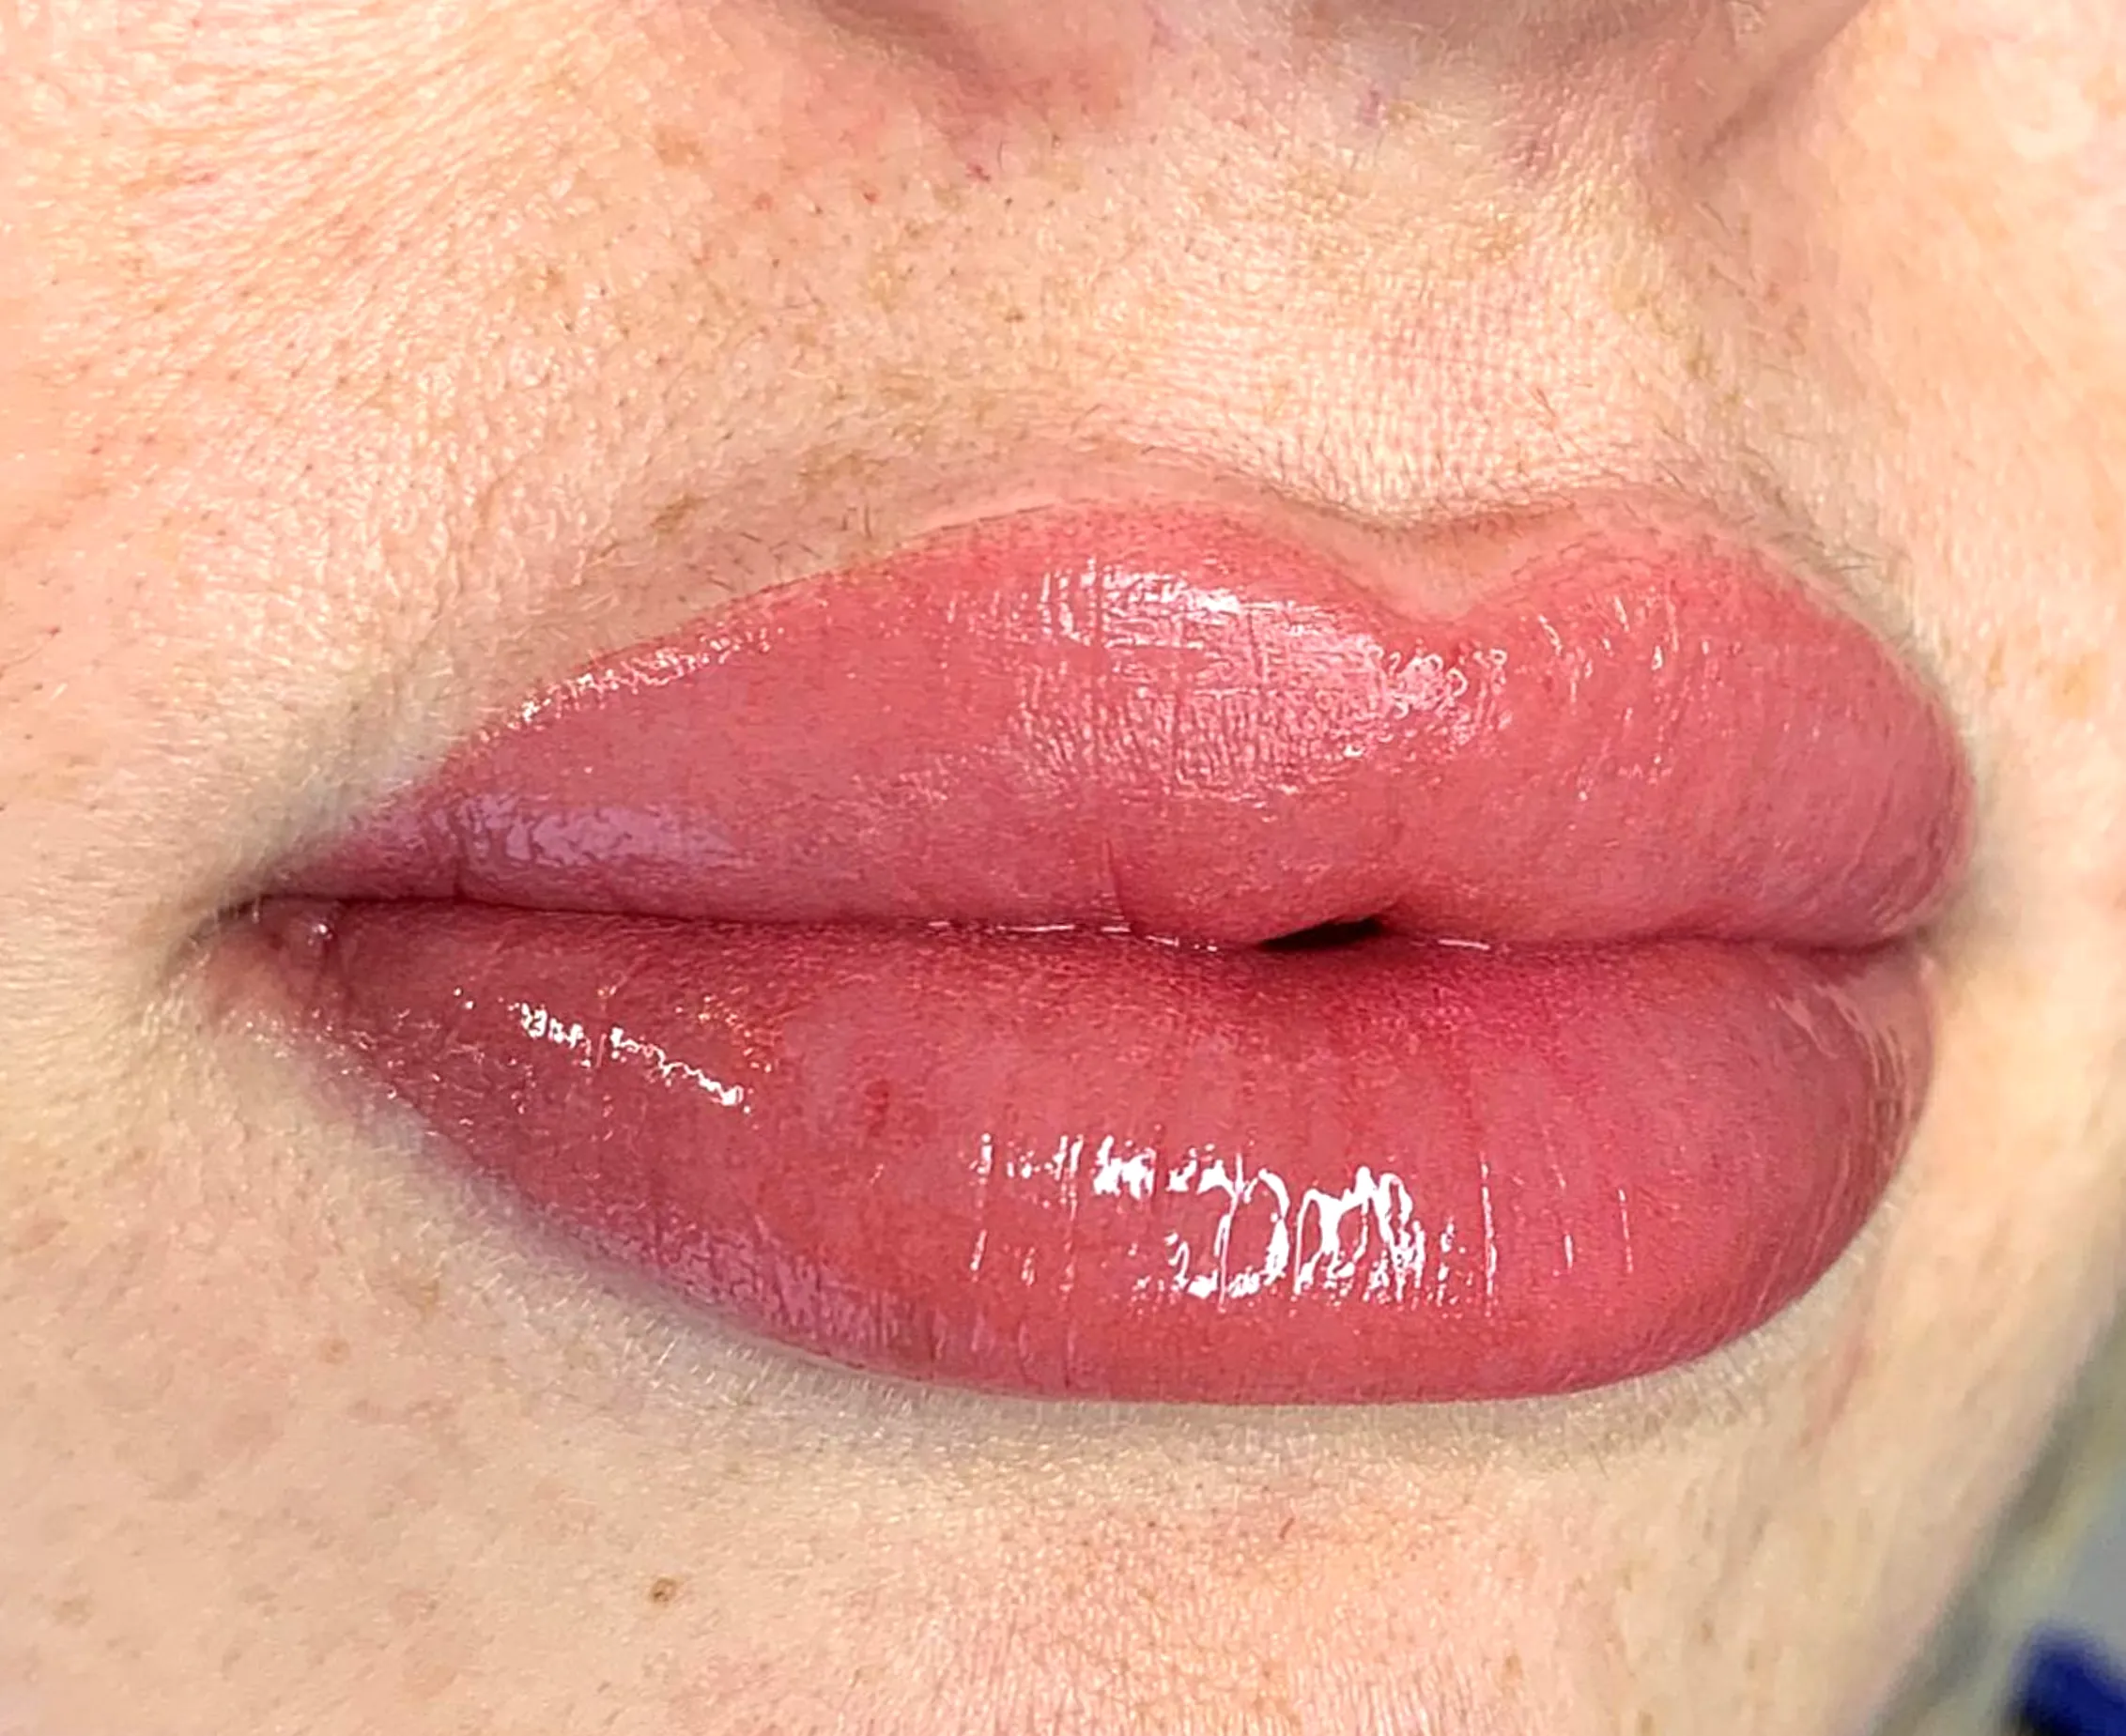
A relaxed client equals a steady canvas. When you’re squirming or flinching from stinging needles, it’s harder for your tattoo artist to create those crisp lip borders, follow the Vermilion border accurately or achieve even pigment saturation. Numbing gives us both the space to focus and improves the overall client experience.
The Two-Step Numbing System
In professional cosmetic tattooing — particularly in lip blushing — numbing is done in two stages: pre-numb and secondary numbing. This is used in most reputable semi-permanent tattooing studios in Melbourne — including mine.
Step 1: Pre-Numbing Before We Begin
This happens before the tattoo process starts. You’ll arrive with clean, makeup-free lips. We’ll apply a topical anaesthetic cream (often a product like Zensa Numbing Cream, a popular cosmedic supply) and let it sit for 15–25 minutes under occlusion (a.k.a. cling film). This allows it to penetrate properly into the lip tissues.
What to expect:
- A tingling, slightly numb sensation within 5–10 minutes
- No injections — just cream anesthetics applied topically
- Reduced anxiety before the tattoo appointment even begins
Step 2: Secondary Numbing During Tattooing
Once we’ve broken the skin and started the first pass with the PMU machine, we’ll switch to a secondary numbing gel. This topical numbing gel often contains lidocaine, tetracaine and sometimes epinephrine to reduce bleeding and swelling in the lip area.
Why this step matters:
- Helps maintain numbness during the longer parts of the cosmetic procedure
- Minimises swelling that could distort your natural lip shape
- Supports better pigment implantation and reduces trauma
Do Numbing Creams Affect Pigment Retention?
Short answer: yes, if used too much or wrong.
Most qualified cosmetic tattoo artists are trained to use numbing products that don’t interfere with semi-permanent ink. But if you overload the lip area with oily numbing cream, it can act as a barrier and affect how the coloured pigment binds.
Pro tip: Trust your artist’s process
We balance comfort with outcome. Less isn’t always more, but more isn’t better either. We use enough numbing cream to keep you comfy — without drowning your lips in product or risking poor pigment hold.
Should You Pre-Numb at Home?
Honestly? No. Unless your tattoo artist has given you specific instructions and approved the product.
Some over-the-counter numbing creams can cause allergic reactions, interfere with pigment saturation or make the lip tissues too rubbery to tattoo effectively. That’s a fast track to uneven lip colour and potential tattoo removal down the line.
If you’re worried about pain, the best thing to do is:
- Ask your artist what numbing products they use (we stock Zensa and other trusted cosmedic supplies)
- Discuss your pain threshold and prior reactions to topical anaesthetic
- Follow the pre-care instructions they provide
What If You Have a Low Pain Threshold?
You’re not alone — and you’re not dramatic, either.
Lots of clients say the idea of pain is worse than the actual feeling. With proper numbing, most describe lip blushing tattoo procedures as a mild scratching or buzzing — not sharp or unbearable.
In some cases, we may:
- Extend the pre-numb phase to 30 minutes
- Use a slightly stronger blend of numbing products
- Reapply secondary numbing between tattooing passes
A Quick Look: Numbing Products at a Glance
| Product Type | When Used | Key Ingredients | Purpose |
|---|---|---|---|
| Pre-numbing cream | Before tattooing | Lidocaine (5%), a topical anaesthetic | Surface-level numbing reduces anxiety |
| Secondary gel | During tattooing | Lidocaine, Tetracaine, Epinephrine | Maintains numbness, reduces swelling |
What You Can Do to Make Numbing Work Better
Want to boost the effect naturally? Here’s what not to do before your tattoo appointment:
- Don’t have caffeine 4–6 hours beforehand — it increases sensitivity
- Don’t have alcohol the night before — it thins your blood
- Don’t exfoliate the lips on the day — lip scrub too close to the treatment can make them reactive
- Stay hydrated — plump lip tissues take pigment and numbing better
Bonus tip:
Cold sores can be triggered by lip blushing. If you’re prone to cold sores or fever blisters, chat to your GP about taking antiviral medication before the procedure.
Be honest about any lip filler you’ve had — spacing between treatments matters.
Disclose all allergies and medications (including natural supplements).
What’s Hot?
With more clients asking for gentle, skin-safe treatments, 2025 is looking like:
- Vegan numbing creams free of preservatives
- Nano-tech PMU machines for less trauma
- Customised numbing protocols based on your skin’s response
In our lip blushing Melbourne studio, we’ve seen a 40% increase in clients asking about lidocaine-only options or numbing products that don’t contain epinephrine. These are often clients with past sensitivities, autoimmune issues or who prefer a cleaner cosmetic tattooing experience.
Other trends:
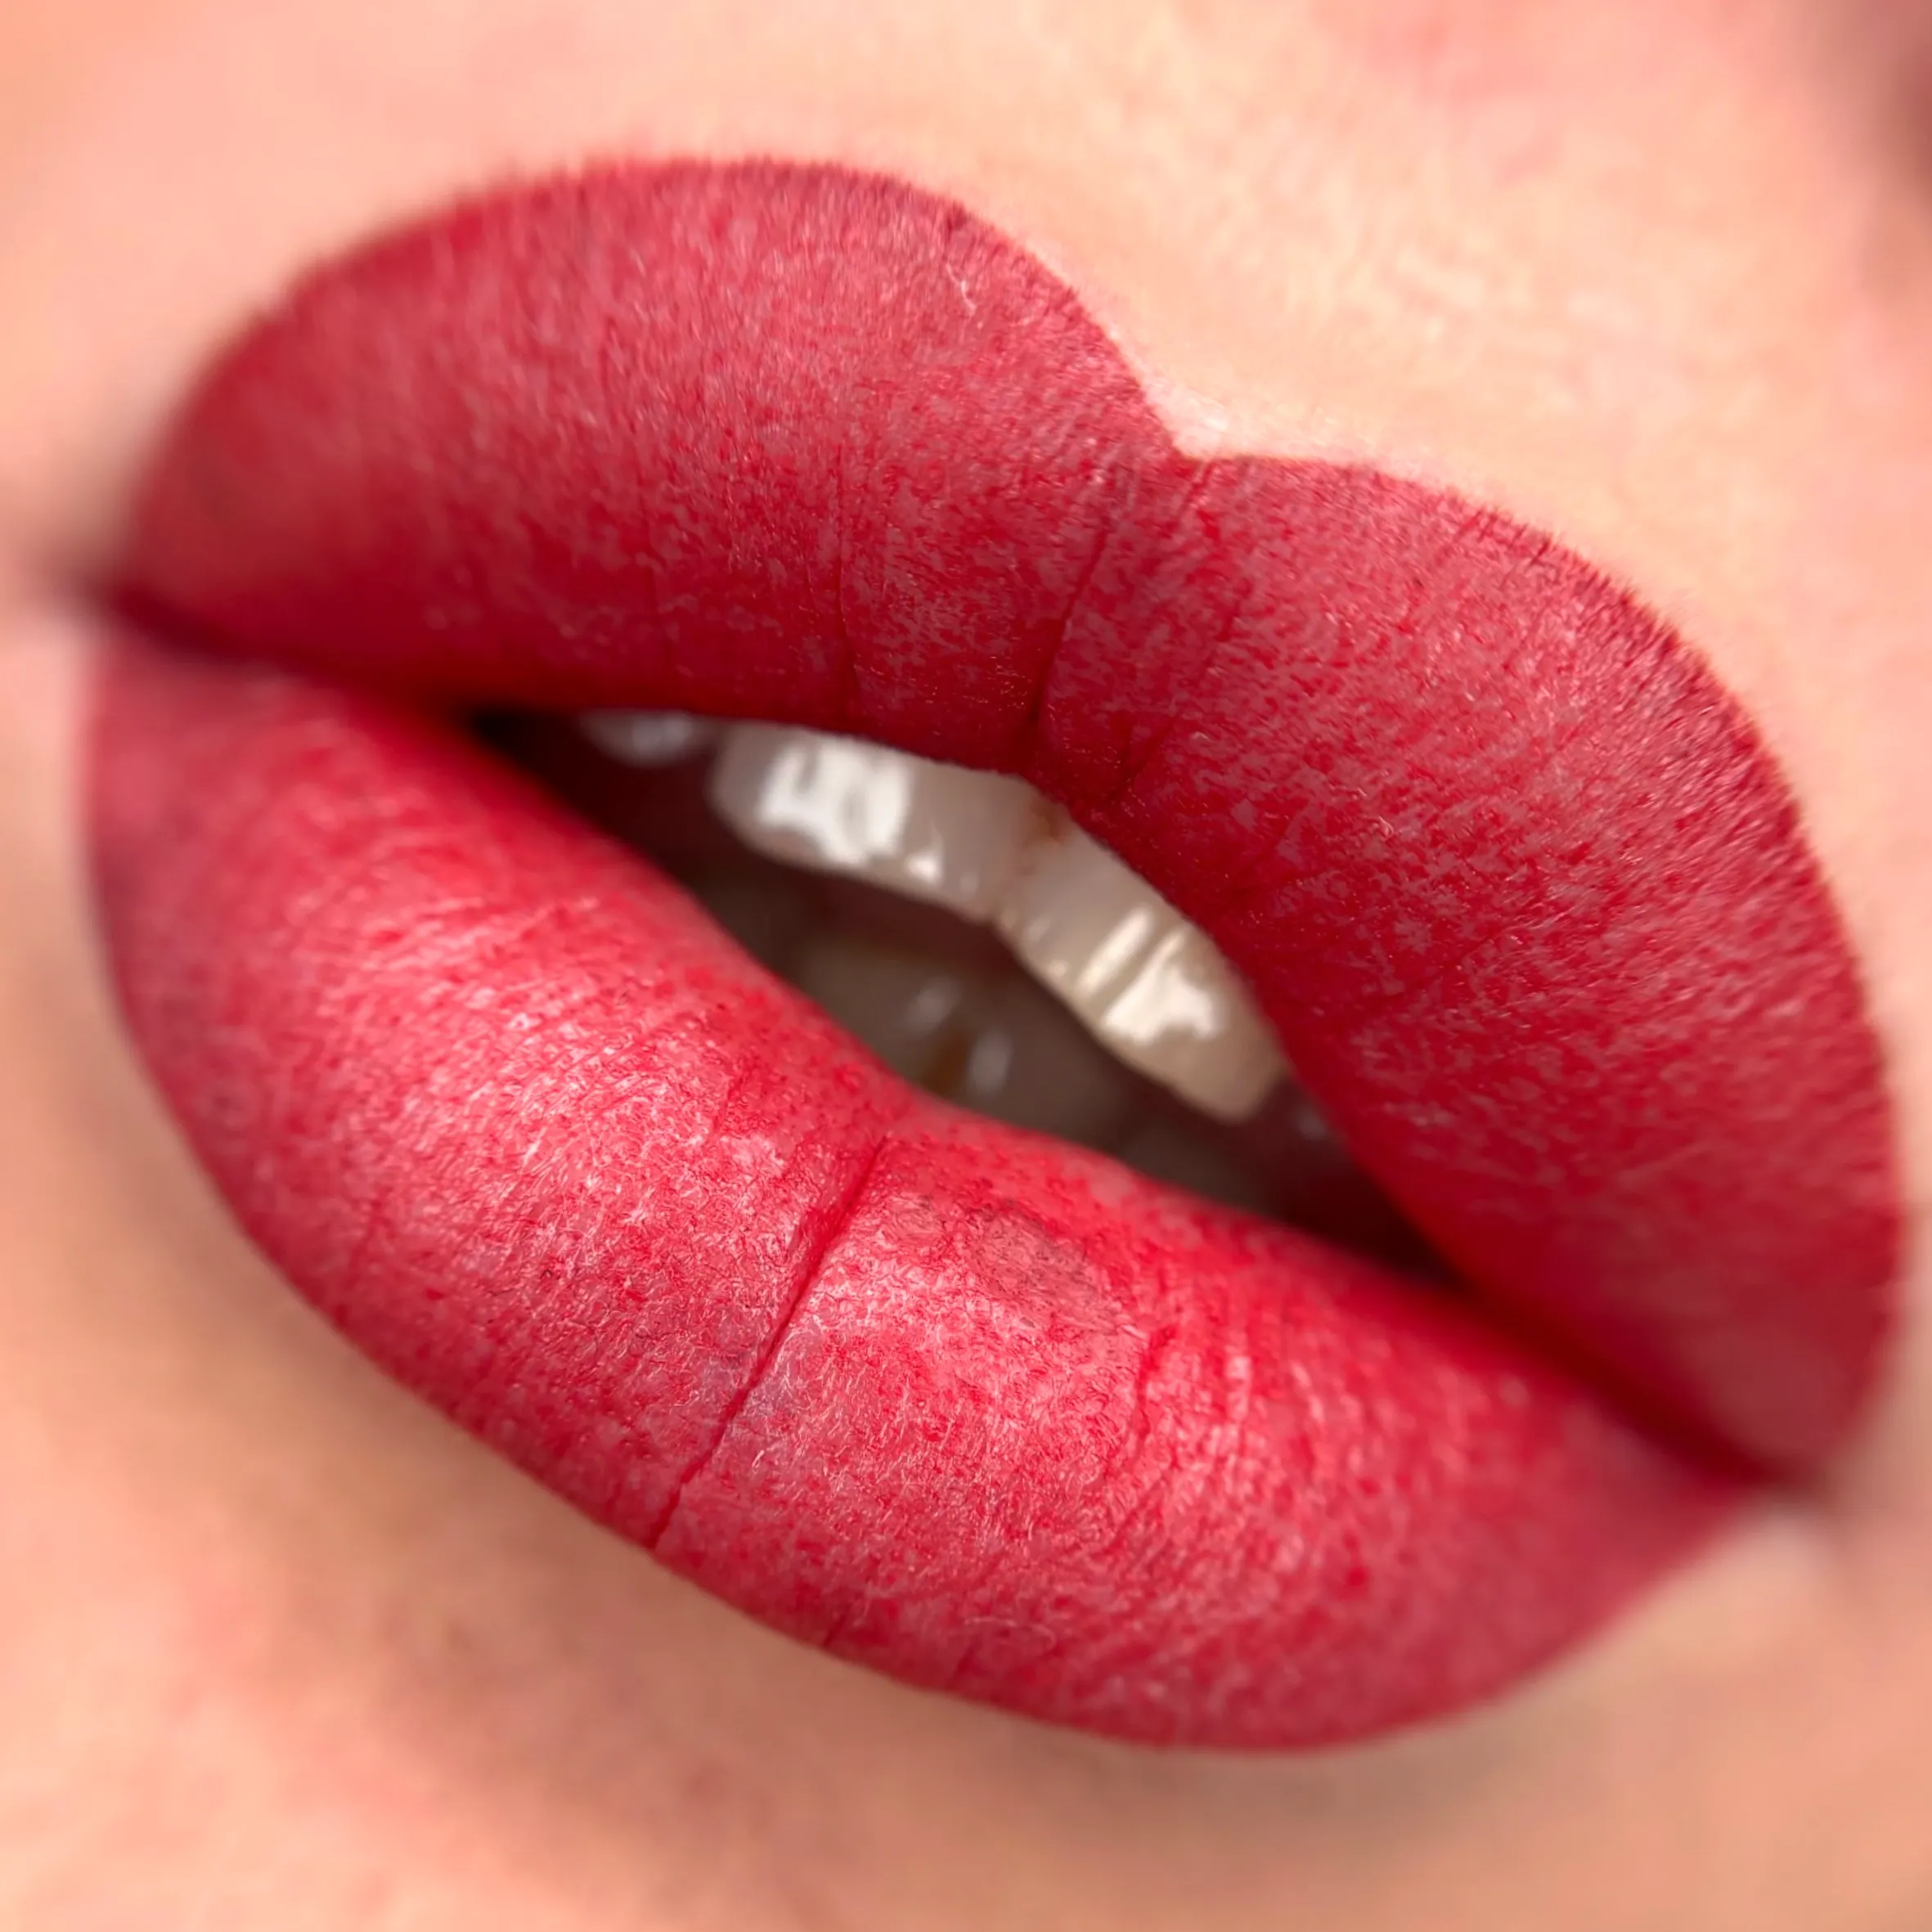
- Dark lip neutralisation treatments for clients with melanin-rich lips who want an even tone
- Soft lip liners and natural lip colour vs bold borders
- More education around the lip tattoo healing process, especially for first-timers
Real Talk: What We See in the Studio
At Cosmetic Tattoo Studio Face Figurati in Melbourne, we’ve spent years perfecting techniques, testing numbing products and supporting clients through every stage — from first-time nerves to healed results.
When someone asks “how do you numb before lip blush?” what they’re really asking is Will I be okay? And yes — with the right artist, PMU technology and clear aftercare, you’ll be more than okay. Clients have fallen asleep mid-procedure. Some bring their own healing balm for after the treatment, others ask about SPF, touch-up timing or Zensa Healing Cream for aftercare. We love it all.
And just to let you know, we use disposable needle cartridges, medical-grade Procedure Tools and sterile Mapping Tools.
Final Thought
Getting a Lip Blush Tattoo isn’t just about pretty results — it’s about education, trust, and long-term lip health. Ask about the numbing cream. Ask about the ink. Ask how long before your healed lip colour appears.
Because a better experience starts with better questions.
FAQ
How long does the numbing take to kick in?
Pre-numbing creams usually take 15–25 minutes to work, depending on the formula and your skin’s response.
Can I bring my own numbing cream?
It’s best to use what your tattoo artist provides. Self-applied creams might not be suitable or effective for this type of procedure.
Will numbing completely remove all pain?
Not completely — you might still feel mild pressure or buzzing. But it dramatically reduces sharp or stinging pain.
Is it safe to get lip blush if I have sensitive skin?
Yes, with the right numbing products. Let your artist know if you have sensitivities so they can adjust the formula.
What’s the best way to prepare my lips before the appointment?
Stay hydrated, avoid caffeine and alcohol, avoid spicy foods, skip lip scrub the day of, and wear a nourishing lip balm the night before. Follow any aftercare instructions closely to support a smooth healing process and avoid unnecessary colour fading.